
From clipping whiskers to legs to the entire body, clippers are an essential barn tool. But don’t you hate it when you are trying to clip a horse, and the blades just don’t clip? They snag, pull, and make lines… and it makes your clip job look like an amateur.
Having the right tool is what makes all the difference. But when you look at the lineup of blade options, it can be overwhelming to figure out the right choice. We’re giving you the ultimate guide to clipper blades, along with some tips to help make your clip job look professional and stress-free.
What size blade and where do I use it?
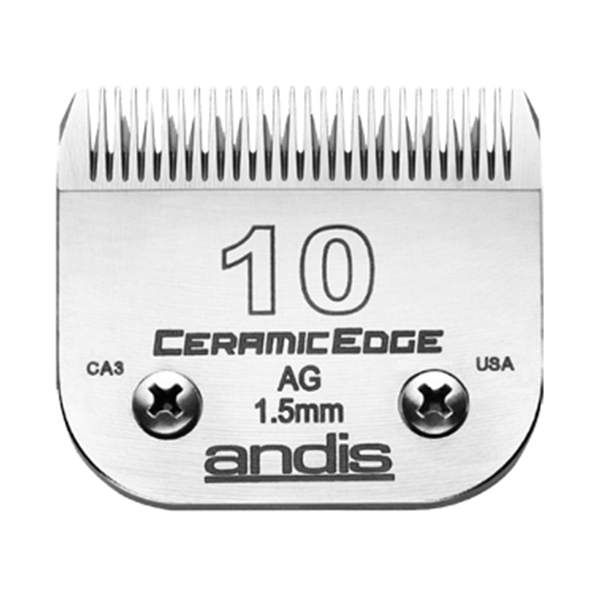
If your horse is not showing and you just want to keep them cleaned up around the face and ears, a Size 10 blade works great. You can clip whiskers, the hairs underneath the jowl, bridle path, and clip around the outside of the ears. Keep in mind you should avoid clipping the inside part of the ears if your horse goes outside a lot. The hair is their protection from the cold winter weather and the pesky summer flies. The Size 10 blade is also great for clipping those fetlock “feathers” or extra hair some horses can get.
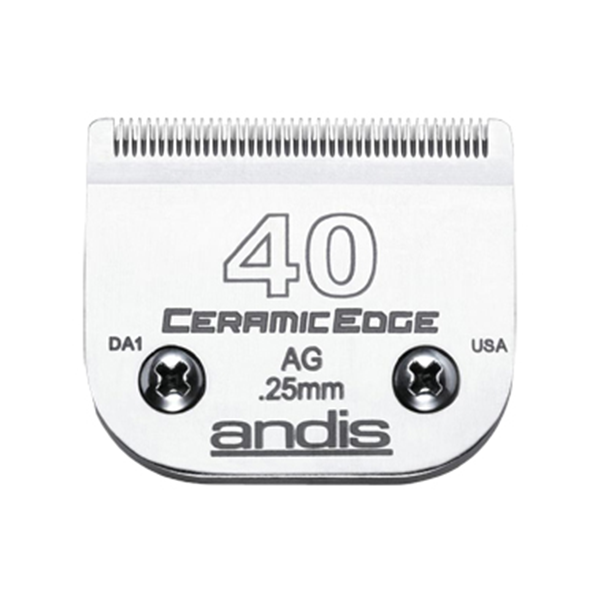
For a show horse, a Size 40 blade will be your best friend for the whiskers and ears to get that crisp, clean look. A Size 10 or even 15 is still your best option for clean-up underneath the jowl, as the Size 40 would be too close. For convenience, FarmVet carries the CeramicEdge Blade Pack, a duo pack including Sizes 10 and 40 together, which will have you set up for just about anything you need to clip!
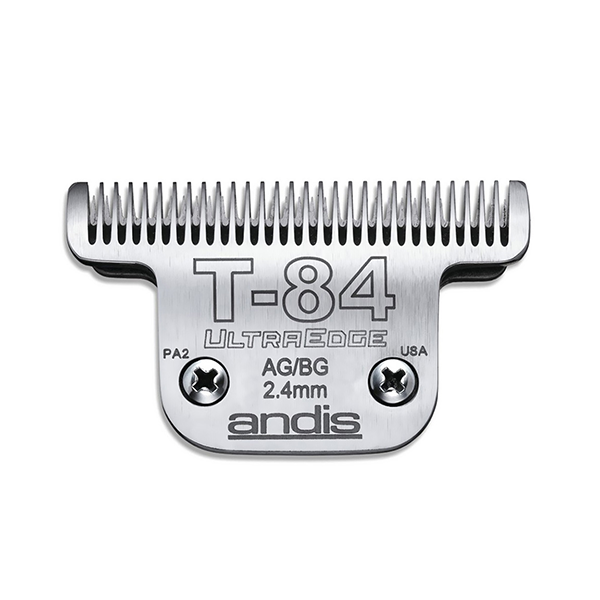
When it’s time for a full-body clip, reach for the T-84. This blade has a wider head, so it covers more area, helping you buzz through that thick coat in less time. If you are doing a trace clip or clipping for something like fox hunting, we recommend a T-10 to do the bulk of the work and then switch to a Size 10 blade to do the smaller and more detailed areas.
How do I take care of my blades?
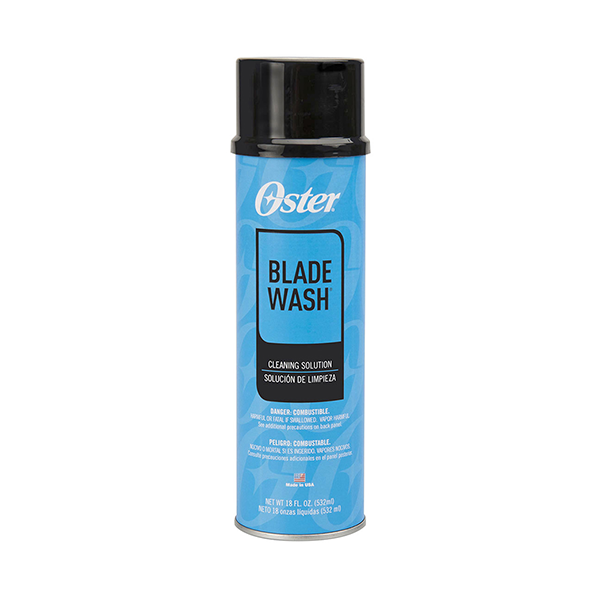
There are a few things you can do to get longevity from your clipper blades. First, attach the blade to the clipper before clipping anything and run it through some Blade Wash. When the clippers come from the factory, they have a coating on them that the Blade Wash can help remove. This will help you get off to a better start with your clipping session.
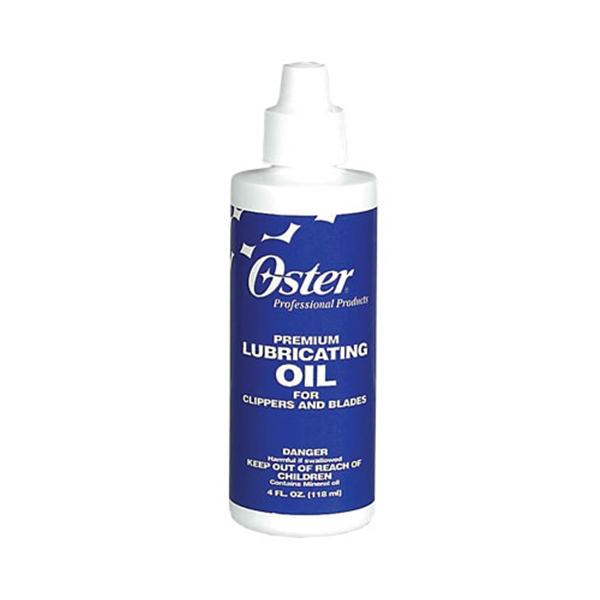
Second, oil the tracks of the blades with Blade Oil. This will keep the blades moving smoothly and will have less of a tendency to snag.
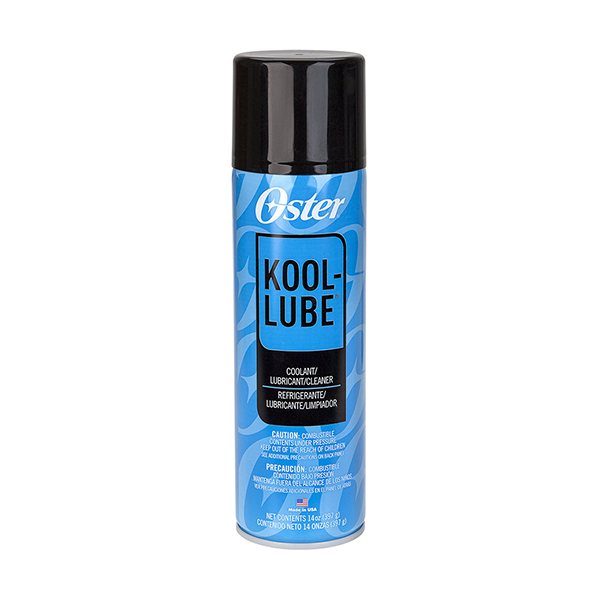
Third, spray the blades regularly throughout your clipping session with Kool Lube. Blades get hot and hairy while clipping – keeping them cool and hair free will help the blades run smoothly and provide more comfort for your horse.
Lastly, store your blades properly after use by re-washing them in Blade Wash and applying Blade Oil. This will prevent any rust from forming on the blades, so they will be clean and ready the next time you need them!
When will I know my blades are ready to be replaced?
A good rule of thumb to follow is simply when the blades stop cutting smoothly, even after washing and spraying them with Kool Lube, then it is time to get them re-sharpened. Blades will typically last through one re-sharpening, and then it is time to invest in a new pair. Depending on what you are using them for, some blades might last longer, but generally, one good re-sharpening is all blades can handle before they start to wear down.
Shop Now
You can shop more of FarmVet’s clippers and blades HERE. Or, shop all our products at FarmVet.com 24/7. You can also call one of our friendly Sales Associates at 1-888-837-3626 or email your order to info@farmvet.com.
Learn More
After clipping your horse, is important to consider how this may affect their resistance to weather changes. Read our blog HERE for some things to keep in mind when it comes to adding blanket layers.
Leave a Reply